

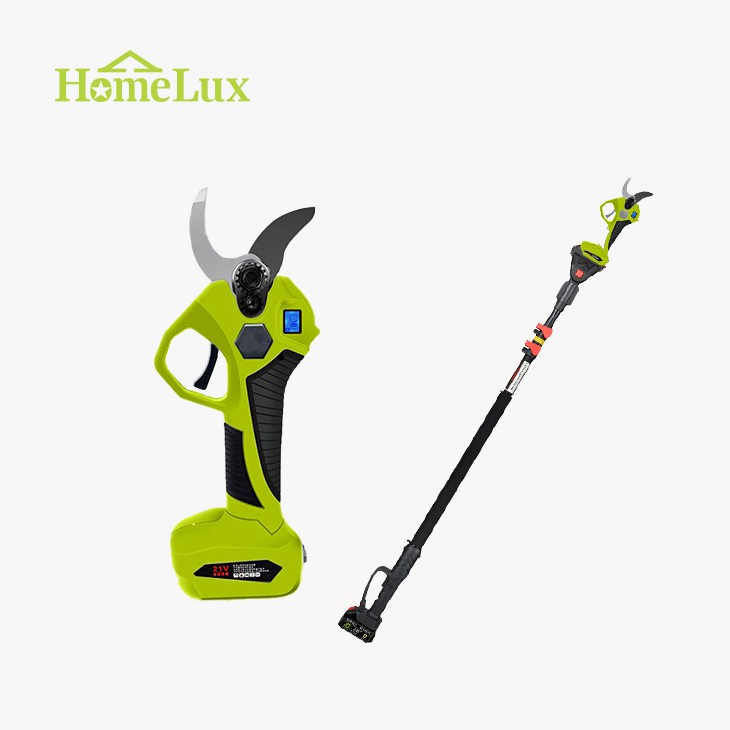
As a supplier of Cordless Electric Pruning Shears, I often receive inquiries from customers about how to maintain and replace parts of our products. One of the most common questions is about replacing the blade of cordless electric pruning shears. In this blog post, I will guide you through the process step by step.
Why Replace the Blade?
Before we dive into the replacement process, it's important to understand why you might need to replace the blade of your cordless electric pruning shears. Over time, the blade can become dull, chipped, or damaged due to regular use. A dull blade can make pruning difficult and may even damage the plants you are working on. By replacing the blade, you can ensure that your pruning shears are always in top condition, providing clean and precise cuts.
Tools You'll Need
To replace the blade of your cordless electric pruning shears, you will need the following tools:
- Screwdriver: Depending on the model of your pruning shears, you may need a Phillips head or flathead screwdriver.
- New Blade: Make sure you have the correct replacement blade for your specific model of cordless electric pruning shears. You can find these blades on our website, Cordless Electric Pruning Shears.
- Clean Cloth: This will be used to clean the pruning shears before and after the blade replacement.
Step-by-Step Guide to Blade Replacement
Step 1: Safety First
Before you start any maintenance or repair work on your cordless electric pruning shears, it's crucial to ensure your safety. Turn off the pruning shears and remove the battery to prevent any accidental activation. This will protect you from potential injuries during the blade replacement process.
Step 2: Remove the Old Blade
- Locate the Screws: Carefully examine the pruning shears to find the screws that hold the blade in place. These screws are usually located on the side or the back of the pruning shears.
- Remove the Screws: Use the appropriate screwdriver to remove the screws. Keep them in a safe place to avoid losing them.
- Take Out the Old Blade: Once the screws are removed, gently lift the old blade out of the pruning shears. Be careful not to damage any other parts of the tool.
Step 3: Clean the Pruning Shears
- Wipe Down the Tool: Use a clean cloth to wipe down the pruning shears, removing any dirt, debris, or sap that may have accumulated. Pay special attention to the area where the blade was attached.
- Inspect for Damage: While cleaning, take a close look at the other parts of the pruning shears for any signs of damage or wear. If you notice any issues, it may be a good idea to contact our customer support for further assistance.
Step 4: Install the New Blade
- Align the New Blade: Place the new blade in the correct position on the pruning shears, making sure it is properly aligned with the other parts of the tool.
- Insert the Screws: Carefully insert the screws back into their holes and tighten them using the screwdriver. Make sure the screws are tightened securely, but be careful not to overtighten them, as this could damage the blade or the pruning shears.
Step 5: Test the Pruning Shears
- Reinsert the Battery: Once the new blade is installed, reinsert the battery into the pruning shears.
- Turn On the Pruning Shears: Turn on the pruning shears and test the blade to make sure it is working properly. Listen for any unusual noises or vibrations, which could indicate that the blade is not installed correctly.
Tips for Blade Maintenance
- Regular Cleaning: After each use, clean the blade of your cordless electric pruning shears to remove any dirt, debris, or sap. This will help prevent corrosion and keep the blade sharp.
- Lubrication: Apply a small amount of lubricant to the blade regularly to ensure smooth operation. You can use a specialized pruning shear lubricant or a light machine oil.
- Proper Storage: When not in use, store your pruning shears in a dry place to prevent rust and damage. You can also use a blade cover to protect the blade from scratches.
Conclusion
Replacing the blade of your cordless electric pruning shears is a relatively simple process that can be done at home with the right tools and a little bit of knowledge. By following the steps outlined in this blog post, you can ensure that your pruning shears are always in top condition, providing clean and precise cuts for your gardening needs.
If you have any further questions or need assistance with blade replacement or any other aspect of our Rechargeable Garden Shears or Lithium Pruning Shears, please feel free to contact us. We are always here to help you with your gardening tool needs. Whether you are a professional gardener or a hobbyist, our high-quality cordless electric pruning shears are designed to meet your requirements. If you are interested in purchasing our products or discussing potential bulk orders, we welcome you to reach out to us for a procurement negotiation.

References
- Manufacturer's Manual for Cordless Electric Pruning Shears
- Gardening Tool Maintenance Guides


